
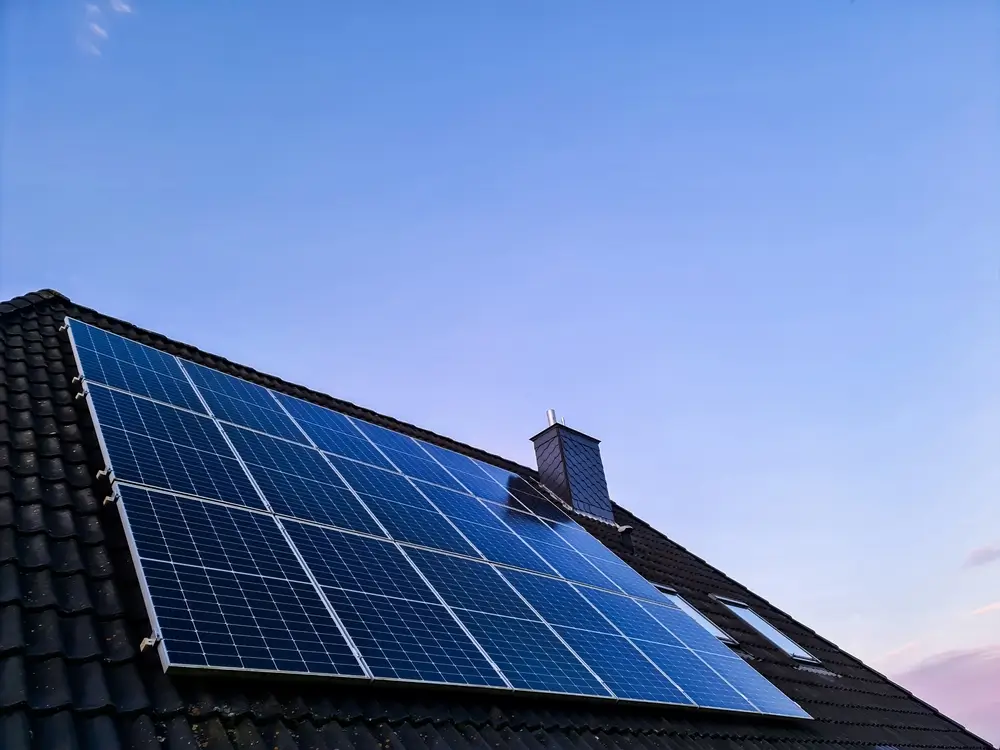
From shutdown to final testing, here’s exactly what happens when a solar array comes off your roof and goes back on.
If you’ve been told your solar panels need to come off — for a roof replacement, a repair, or a renovation — it’s natural to wonder what that actually involves. Is someone just unbolting panels and stacking them in the driveway? Not if it’s done right. A proper solar panel removal and reinstallation (also called a detach and reset, or D&R) is a careful, documented process from start to finish.
Here’s the full walkthrough, step by step, the way our crews run it.
Step 1: System Documentation and Baseline Testing
Before a single panel comes off, the array is documented and tested. This is the step amateurs skip and professionals never do. It includes:
- Array mapping and documentation — recording exactly how the system is laid out
- Inverter diagnostics — confirming the inverter’s current health
- Voltage testing — measuring the system’s electrical performance
- Photographic documentation — a visual record of the starting condition
- Warranty issue identification — flagging any pre-existing faults
Why bother? Because this establishes a performance baseline. It puts any pre-existing issues on record, supports manufacturer warranty claims if something’s already wrong, and gives us a benchmark to prove the system performs just as well after reinstallation.
Step 2: Safe Shutdown and De-Energizing
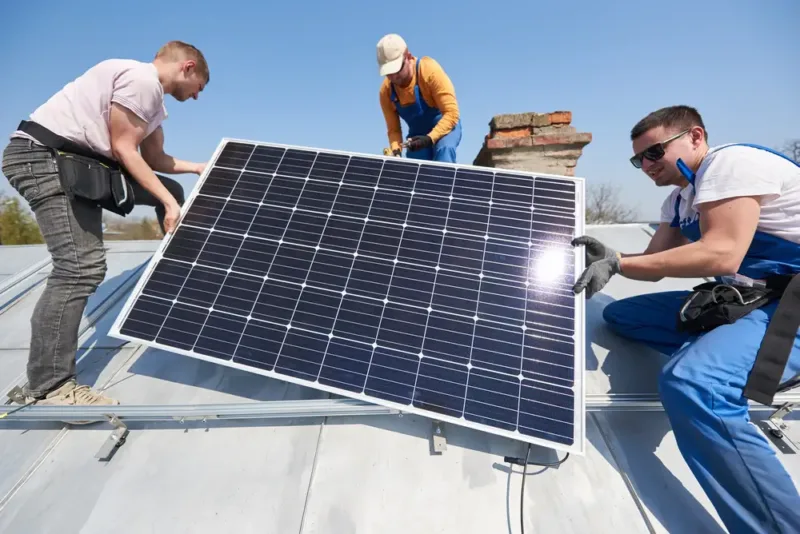
A solar array is a live electrical system carrying DC current, so it can’t just be unbolted. Licensed technicians power the system down and safely de-energize it before anyone handles the hardware. This is electrical work, and doing it correctly is both a safety issue and a code-compliance issue — one of the clearest reasons this job belongs with qualified solar professionals rather than a general labor crew.
Step 3: Panel and Racking Removal
With the system safely de-energized, the crew removes the panels, then the racking and mounting hardware. Every component is handled methodically to avoid scratches, cracks, or damage. As pieces come off, they’re labeled and organized so that every panel, rail, and bracket can be accounted for and reinstalled correctly.
Step 4: Safe Storage
The removed panels, racking, and hardware are stored safely while the underlying work happens — labeled, organized, and protected from damage, either in a secure on-site staging area or transported off-site depending on the project. The principle is simple: everything that came down goes back up, undamaged. Careless storage is a common way panels get cracked or lost, so this step matters more than it seems.
Step 5: Inspection While Everything’s Apart
With the array off and the roof exposed, components are accessible in a way they never are once the system is back up. It’s the ideal moment for a thorough inspection of:
- The panels for micro-cracks, hail damage, or delamination
- The wiring and connectors for wear or corrosion
- The racking for corrosion or fatigue
- The roof attachments and flashing, which will be replaced and resealed on reinstall
In Colorado, where many removals are triggered by hail in the first place, this inspection can catch panel damage that belongs in an insurance claim — before the panels go back up.
Step 6: The Underlying Work (Usually Roofing)
This is the middle of the project — the reason the panels came off. Most often it’s a roof replacement, done by a roofing crew on a now-clean, unobstructed deck. Because this involves a separate trade, coordination is critical: the schedule has to be sequenced so the roof isn’t left exposed and the system isn’t offline any longer than necessary. We regularly coordinate directly with homeowners’ roofing contractors to keep this tight.
Step 7: Reinstallation (the “Reset”)
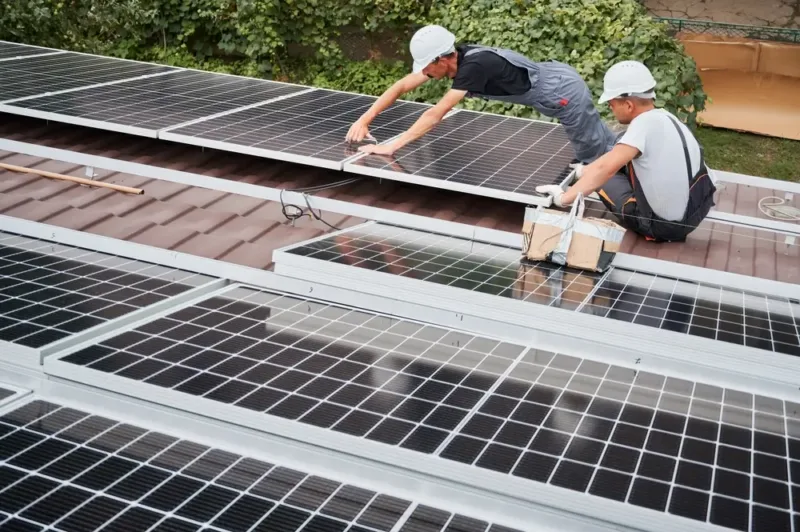
Once the roof (or other work) is finished, the array goes back up. Reinstallation means:
- Remounting the panels and racking on the new surface
- Re-flashing and sealing every roof penetration with fresh flashing and sealant, so the new roof stays watertight
- Reconnecting the electrical system correctly and to current code
- Reinstalling to today’s standards — in Colorado, updated wind-load requirements may call for different or additional mounting than the system originally had
This is where roofing knowledge and solar knowledge overlap, and where shortcuts cause the water damage that shows up months or years later.
Step 8: System Testing and Reconnection
The final step is proving the system works. Technicians power the array back up and verify:
- Inverter function
- Wiring integrity
- System output against the baseline from Step 1
Any required re-inspection or utility notification is handled here too. The project isn’t finished until the system produces exactly as it did before it came down.
Why the Process Order Matters
Every step in this sequence exists to protect something — your warranty, your production, your new roof, or your safety. Skip the baseline testing and you can’t prove performance. Rush the storage and you damage panels. Let an unqualified crew handle the electrical or the flashing and you risk voided warranties, failed inspections, or leaks. The whole point of a professional detach and reset is that nothing is left to chance.
How Long Does It Take?
A typical residential removal and reinstallation runs 2–4 days, depending on system size and whether roof work happens in between. Removal is usually one day; reinstallation and reconnection follow once the middle work is done.
Ready to Get Started?
If your panels need to come off, the process is only as good as the crew running it. At Vanguard, our NABCEP-certified technicians perform every step in-house — documentation, removal, storage, inspection, reinstallation, and testing — with decades of combined solar and roofing expertise behind them.
Request a free removal and reinstallation estimate.
Learn more in our complete guide to residential solar detach and reset in Colorado, or explore our Solar Removal & Reinstallation and Solar Troubleshooting & Diagnostics services.









Leave A Comment